Have trouble starting luffa seeds? I did too. They are fussy. I used to get less than 50% germination, and it took weeks. Now I get nearly 100% germination in just one week. I've put together this series of steps over the past few years based on my own experimentation and help from any resource I could find. I'd like to especially acknowledge Regine Zeng of Asian Garden 2 Table who described pre-germinating her luffa seeds when she was interviewed on the Epic Gardening podcast.
Enough pre-amble, here it is:
Day 1

Clip the side of each seed with a nail clipper. This is a simple form of scarification. You're breaching the tough seed coat to allow water to enter and begin the germination process.
Soak the seeds in warm water overnight. set the container on a heat mat to keep it warm.
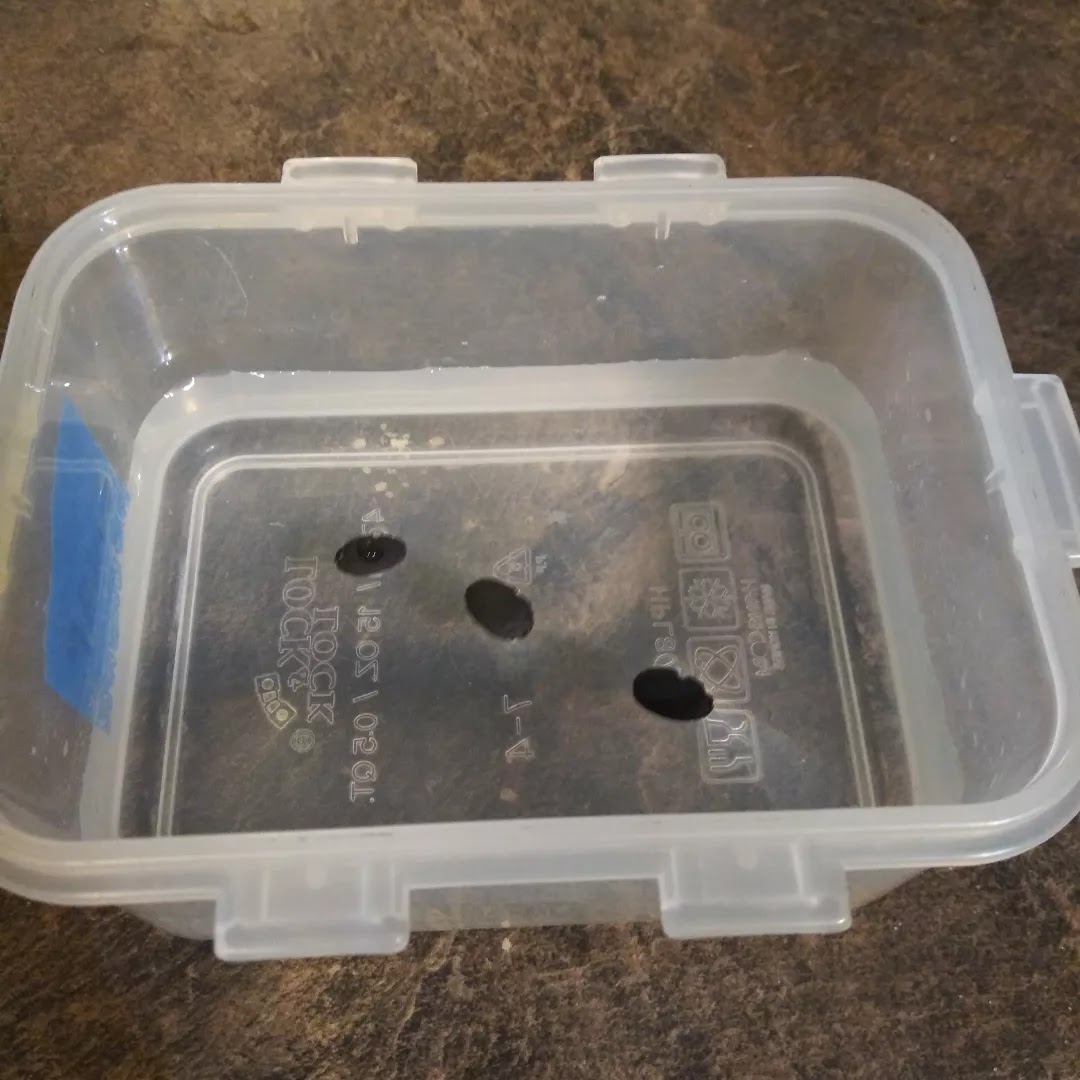
Day 2

In the morning, if any seeds are still floating, press them against the side of the container until they release air bubbles and sink to the bottom. It feels cruel, but the water is waking up the seed so it will germinate and grow! Put the container of water with sunken seeds back on the mat for a while or until evening.

Later on day 2 pour off the water, rinse the seeds, and wet a cloth (a chunk of old t-shirt works great).


Wrap the seeds in the wet cloth, put back in the empty soaking container, and put that back onto the heat mat to keep the seeds warm and damp. This bit is called pre-germinating, and from here forward it's a lot like growing sprouts. Once a day open the cloth, rinse the seeds and the cloth well, and then wrap them back up and replace on the heat. Do this every day until you get germination.
Day 3-6, depending

This is germination. The white thing sticking out of each seed is it's root. At this point the seeds can be planted in pots, but I have to admit, I was too busy that night so I rinsed everything and wrapped them back up and put them back in place on the heat mat until the next night...

...when they looked like this. Either one of these pictures is the right time to plant each seed in it's own pot of seed starting mix. If yours germinate one at a time, go ahead and plant each one when it's ready, rinsing the rest and returning them to the heat mat to germinate. That's perfectly normal. In fact I was surprised these all kept such perfect pace with each other.

Leave headspace when you fill the pot, add the seed, and then cover with twice it's width of seed starting mix.

Water the pots by placing them into a pan of water for a few hours. Once they've soaked it up and feel heavy, set them on the heat mat in a tray covered with a clear dome (no light needed) and check each day for the leaves to emerge from the soil.

Ta da! At this point you can treat your luffa seedlings like any other seedling. Remove the clear dome, take them off the heat, and put them under a light, just like you would with a tomato.
The newest luffa seedlings are along the right side. The right front seedling has started to spread open it's seed leaves.
The luffa seedlings in the middle of the tray are a little more than a month old.
The front left and front center seedling are more like 2 weeks old. They show a great example of the two kinds of leave you see on seedlings. The plain oval leaves are seed leaves. There are only two per plant and they were the first leaves to come up. The lobed leaves are the true leaves. All the rest of the leaves the plant makes will look like them. Seed leaves already exist inside the seed before it germinates--isn't that cool?!

No comments:
Post a Comment