Note: if you are hoping for sure-fire how-to information on successfully growing luffa in a short season, look elsewhere, or come back here in a few years. If you are experimenting, and want to read about how my first year of experimenting went: wins, losses, and plans for next year, then read on!
My primary goal is to grow enough mature gourds to supply luffa scrubbers for my own bath and dish scrubbing needs, plus gifts. If up until this moment you thought the natural luffa in your shower was a sea creature, not a plant, don't feel bad--that's what most people think. Luffa or loofah is a vining gourd related to cucumbers. They grow in more tropical parts of Asia, which is why learning to grow them outside of Buffalo New York will be a multi-year challenge.
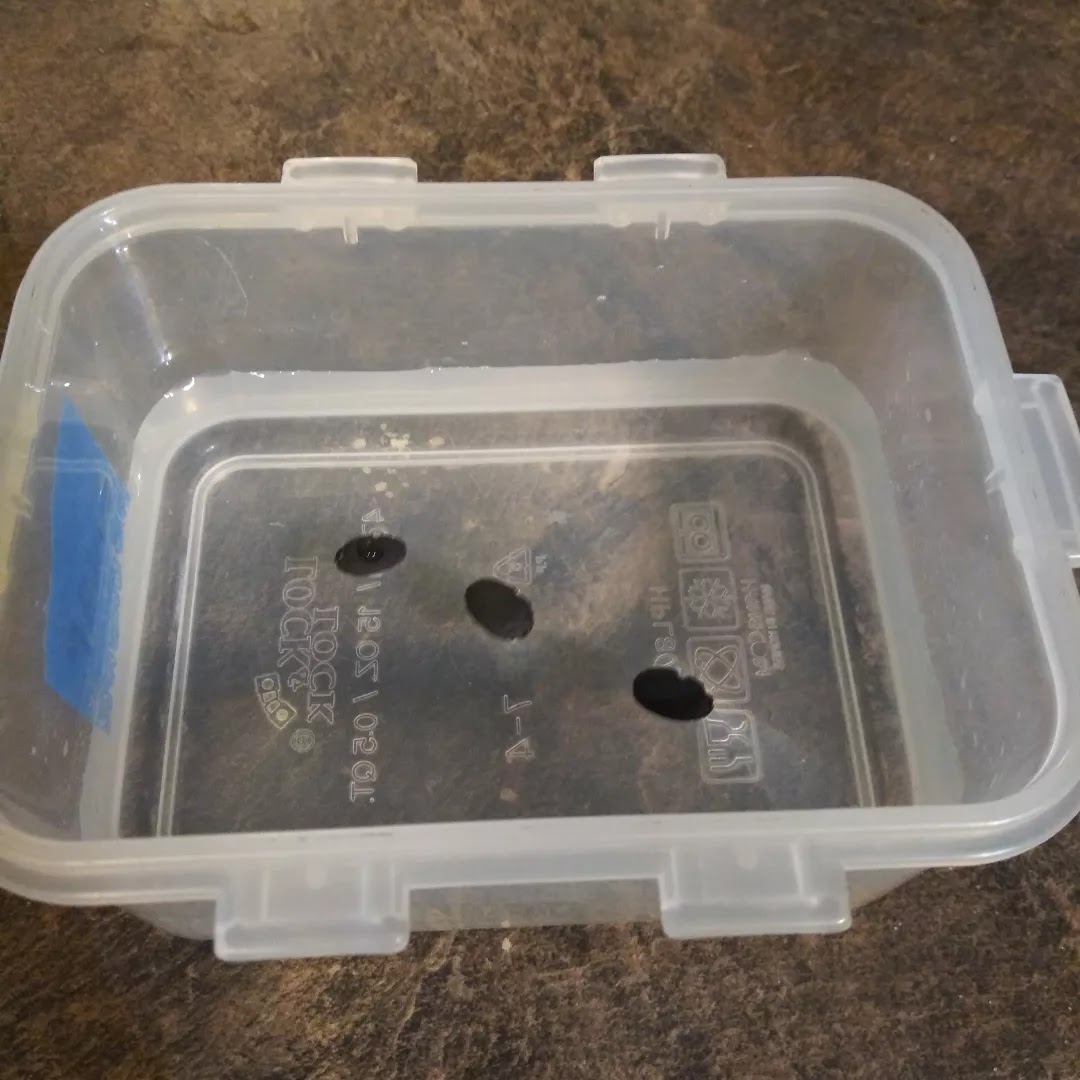
I started from seed. After reading lots of conflicting information about how far ahead to start the seed indoors, I decided that experiment #1 was to determine the best indoor start time. I started the first plant in mid January, the second mid February, and the third mid March. My final frost date is May 15th, so that was 4, 3, and 2 months before the first frost. For all three plantings I nicked the side of the seed with a nail clipper and soaked overnight before planted in a peat pot filled with potting mix. I kept the peat pot on a heat mat and under a clear plastic dome until germination. Once the seed germinated I moved the peat pot off the heat and directly under flourescent light. I had 100% germination. Success #1!
I followed my usual routine for planting out into the vegetable garden. I mulch all of my beds heavily with chopped leaves in the fall. By spring that layer of leaves has gone down quite a bit, usually to 2-4" of mulch. For the luffas, 3-4 weeks before planting I raked back the leaf mulch to help the bed warm up in the sun. 2 weeks before planting I spread a 2" layer of screened compost on top of the bed. I don't work anything into the soil and I don't till.
I planted out all three seedlings in an 18" diameter x 5' tall tomato cage a week before my last frost date and then re-mulched with the fall leaves. The forecast showed no more frost for the next 2 weeks. This was mistake #1. All three plants shriveled, turned brown, and nearly died. Clearly these tropical plants need more warmth than just a lack of frost. While they did survive, they were stunted and didn't get any bigger for at least a month. Planting out early put them behind.
They did eventually grow and start climbing up their tomato cage, and across the neighboring bean cages. They made beautiful, short lived yellow flowers that the bumblebees loved success #2.
They seem to make male and female flowers like zucchini do, with the male flowers growing first and just being flowers, while the female flowers eventually grow a little gourd at their base. The little gourds got a little bigger, and a little phallic.
they got a little bigger and less startling...
As we got closer to the fall frost--mid October here, it became clear that there was one fully mature gourd, a half dozen that might become mature, and another half dozen medium sized gourds that were to small to become bath sponges. Happily, luffa is edible! I searched online and found several thai recipes for stir frying luffa with fish sauce and eggs.
I picked all the smaller gourds and followed the recipe. They were delicious! This was definitely success #3--a tasty meal from the garden. They have a mild flavor and a satisfying texture. The meal was filling and yummy served over rice.
According to the internet, at the end of season the gourds will dry and turn yellow brown on the vine. When the first true frost came, even the largest gourd was still green. So I left them. The plant died after the first light frost. So based on that and mistake #1, its safe to say that this is a plant that does not tolerate cold. That's conclusion #1.
At this point I ran experiment #2. I cut two of the almost mature gourds off the dead vine and hung them in a mesh bag in the basement, but left the fully mature gourd and 3-4 almost mature on the dead vine to compare the two drying methods, indoor or out. Once a month or so I peeled one of the almost mature gourds on the outdoor vine. There wasn't a sponge inside, just a dead slightly overgrown cucumber.
By Christmas both the outside and inside gourds had browned and dried, and seemed to have stopped changing significantly.
Here's how the big guy looked just before Christmas:
Close up of the skin. Is it dry or rotten? Only one way to find out.
On the left are the two that dried in a hanging mesh bag in the basement, on the right the final two that dried outside on the vine. They all feel fairly dry and crispy on the outside.
The less mature gourds were a pain to peel, and didn't yield anything useful. Yes, they were old fibrous gourds, but they weren't fibrous enough to be sponges, just sort of rotten.

But the big guy should work. It isn't as lovely and fine grained as the luffas I've bought, but I sent it back to the basement to dry some more without it's skin. The seeds inside looked mature until I remembered that the original seeds I planted were thicker and black.
So here's what I learned and how I'm going to use that knowledge going forward:
conclusion #1 Luffa can't take any cold. Waiting until hard frost is over isn't enough. Next year I need to plant them into warm soil, like I would do with tomatoes or peppers. Last year I had great success planting out my tomatoes and peppers early, but inside water cloches (like Kozy Coats, or Wall-o-Water) so I will try doing the same, and at the same time with the luffas.
conclusion #2 Planting 3 luffa in a tomato cage with other climbing apparatus nearby seemed to work well for them. They only took up 3' x 18" of planting space in the bed. That's worth it even just for the one meal and one sponge I got this year. I will give them the same amount and kind of space next year.
conclusion #3 No conclusive data on best seed starting date. The most mature gourd came from the February start date, but the January seedling had been damaged early on by spider mites and everything else about the three vines seemed pretty equal for most of the growing season. I will run experiment #1 again next year using the same parameters.
conclusion #4 Once the vine was dead, there wasn't much difference between the gourds dried inside and those dried outside. The goal would be to make the right changes next year so that several gourds can fully mature and dry on the vine BEFORE the first fall frost. Which leads to:
conclusion #5 I suspect that even if everything else goes perfectly, my season may be too short to reliably get this variety to fully mature and dry on the vine before frost. As I looked through my records I see that I planted a 120 days to maturity variety of Luffa. Looking through this year's seed catalogues, I found a 90 day variety offered. So I am going to plant that variety next year. I realize that changing the variety is crap science, effectively negating the other conclusions, but I contend that my crap science is still decent gardening. So I am putting experiments with this variety on hold to start over with the new quicker maturing variety. I'll run experiment #1 again on this variety, keeping my seed starting technique the same. I'll plant out into warmer soil with more protection, as it's very likely this will benefit the new variety as it would have the old, and I'll learn from there. Perhaps the next experiment will be to plant both varieties in the same year and compare them side by side. I can even do a taste test!